
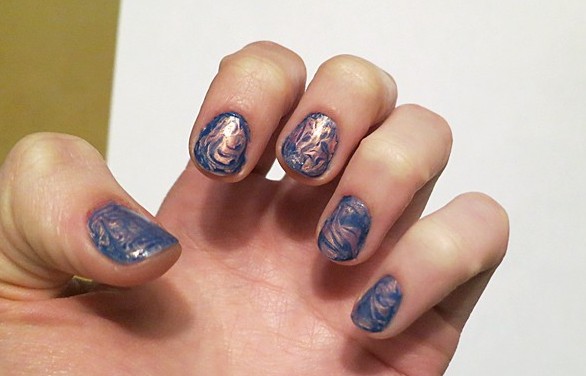
Impressionist swirls
This is my absolute favorite design and can be thought of as a lazy girl’s water marble. Although these don’t require any skill, they are messy, so make sure to put a piece of paper down to protect your work surface.
- Pick your colors. You’ll need one creme polish and one metallic or very shimmery polish. The different finishes help prevent the polishes from becoming a muddy mess. Here I used Nina Ultra Pro “Ahoy Matey” and Kleancolor “Salsa.”
- Apply a thick coat of your creme polish. Don’t be afraid to be a bit gloppy with it – it needs to be opaque in the first go.
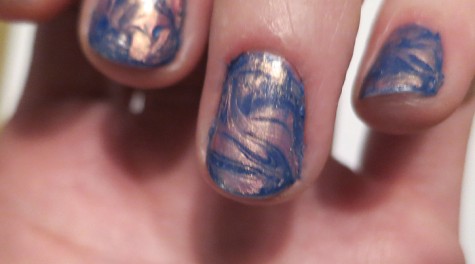
- Immediately after step one, dab on a wide stripe of your metallic or shimmer polish; it doesn’t have to be neat.
- Use your toothpick and make a zigzag across your nail to swirl the colors. Be delicate with this. The toothpick should only lightly brush your nail bed, or it’ll leave nasty bald spots. Be careful not to mix too much – you want big, clearly defined swirls. Do each nail one at a time, because it’s important to mix the colors quickly before they dry.
- Let dry. This is really the only hard part, because the thick coats will have you sitting there for a while.I highly recommend picking up a bottle of Seche Vite topcoat (at Target or Sally Beauty) and using it about five minutes after applying the polish – this magic stuff will dry and harden your manicure within ten minutes so you’re not stuck being careful with your hands for hours.
- Clean up. There are multiple ways to do this but this lazy girl’s method of choice is peeling excess off in the shower.
Adapted from More Nail Polish
Donate to West Side Story
$1400
$1000
Contributed
Our Goal