


How to: shoot better iPhone photos
A step-by-step guide on shooting beautiful photos with your iPhone.
Jan 28, 2018
A picture is worth a thousand words. This cliche has been heard so many times, but even worn-out cliches are occasionally right. Photos are indeed the easiest way for the majority of people to capture memories, and with the iPhone’s increasing camera quality, taking lovely pictures on the go has become substantially easier. But even new technology doesn’t guarantee better photos. If you want to make the most out of the iPhone’s camera, follow this step-by-step guide to shooting quality photos with your phone.
1. Change your camera settings.
Shooting with default settings isn’t always ideal. Take advantage of the iPhone camera grid to apply the rule of thirds to your photography. Go to Settings, then Camera, and then toggle the Grid on (iPhone Life). And to take photos with movement, high contrast, or vivid colors, turn off the HDR (Lifehacker).
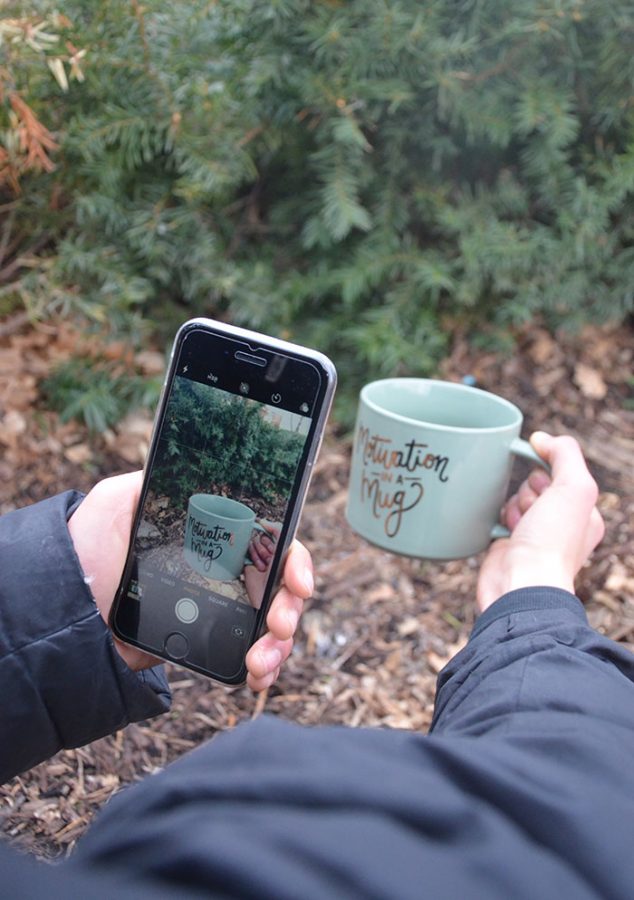
2. Select the right camera mode to shoot on.
Make sure to turn off Live mode before shooting any traditional, still photos. If the picture is going to appear on social media, Square mode will take nice, compact pictures that are sure to fit on any social media platform.
3. Find the best composition for the photograph.
As a general rule of thumb, try to make pictures as simple as possible. Focus attention on the subject by rearranging the background, or moving the camera so that certain distracting background elements are no longer in the picture. In order to capture small details, get closer rather than zooming in (National Geographic). Also try incorporating the rule of thirds, leading lines or patterns into the picture.
4. Get a proper grip on the phone.
Camera shake can reduce photo quality substantially, so make sure to get a proper grip on the iPhone. Hold it in two hands, rather than one (National Geographic). To steady your hands, push your body against a vertical surface, resting your elbows on something sturdy or even just hold the iPhone out while tucking your elbows into your body.
5. Shoot multiple times, from multiple angles.
The first photo rarely turns out the way you want it. In order to ensure that you capture at least one quality photo of the subject, make sure to shoot multiple times. Vary the angle of the phone to explore the different possible compositions. Shoot from below the subject, above the subject, or from the side, rather than just straight-on. If you’re worried about storage, you can always go and delete all the photos that didn’t turn out the way you wanted, so shoot away.